Welcome to your June 2022 Dream Wardrobe.
UK SIZES 6-30
I love a pretty blouse, my me made wardrobe is full of them. Blouses are easy to throw on and work just as well with denim cut-offs as with a smart suit or my favourite blouse combo, a pair of skinny jeans...

About the fabric:
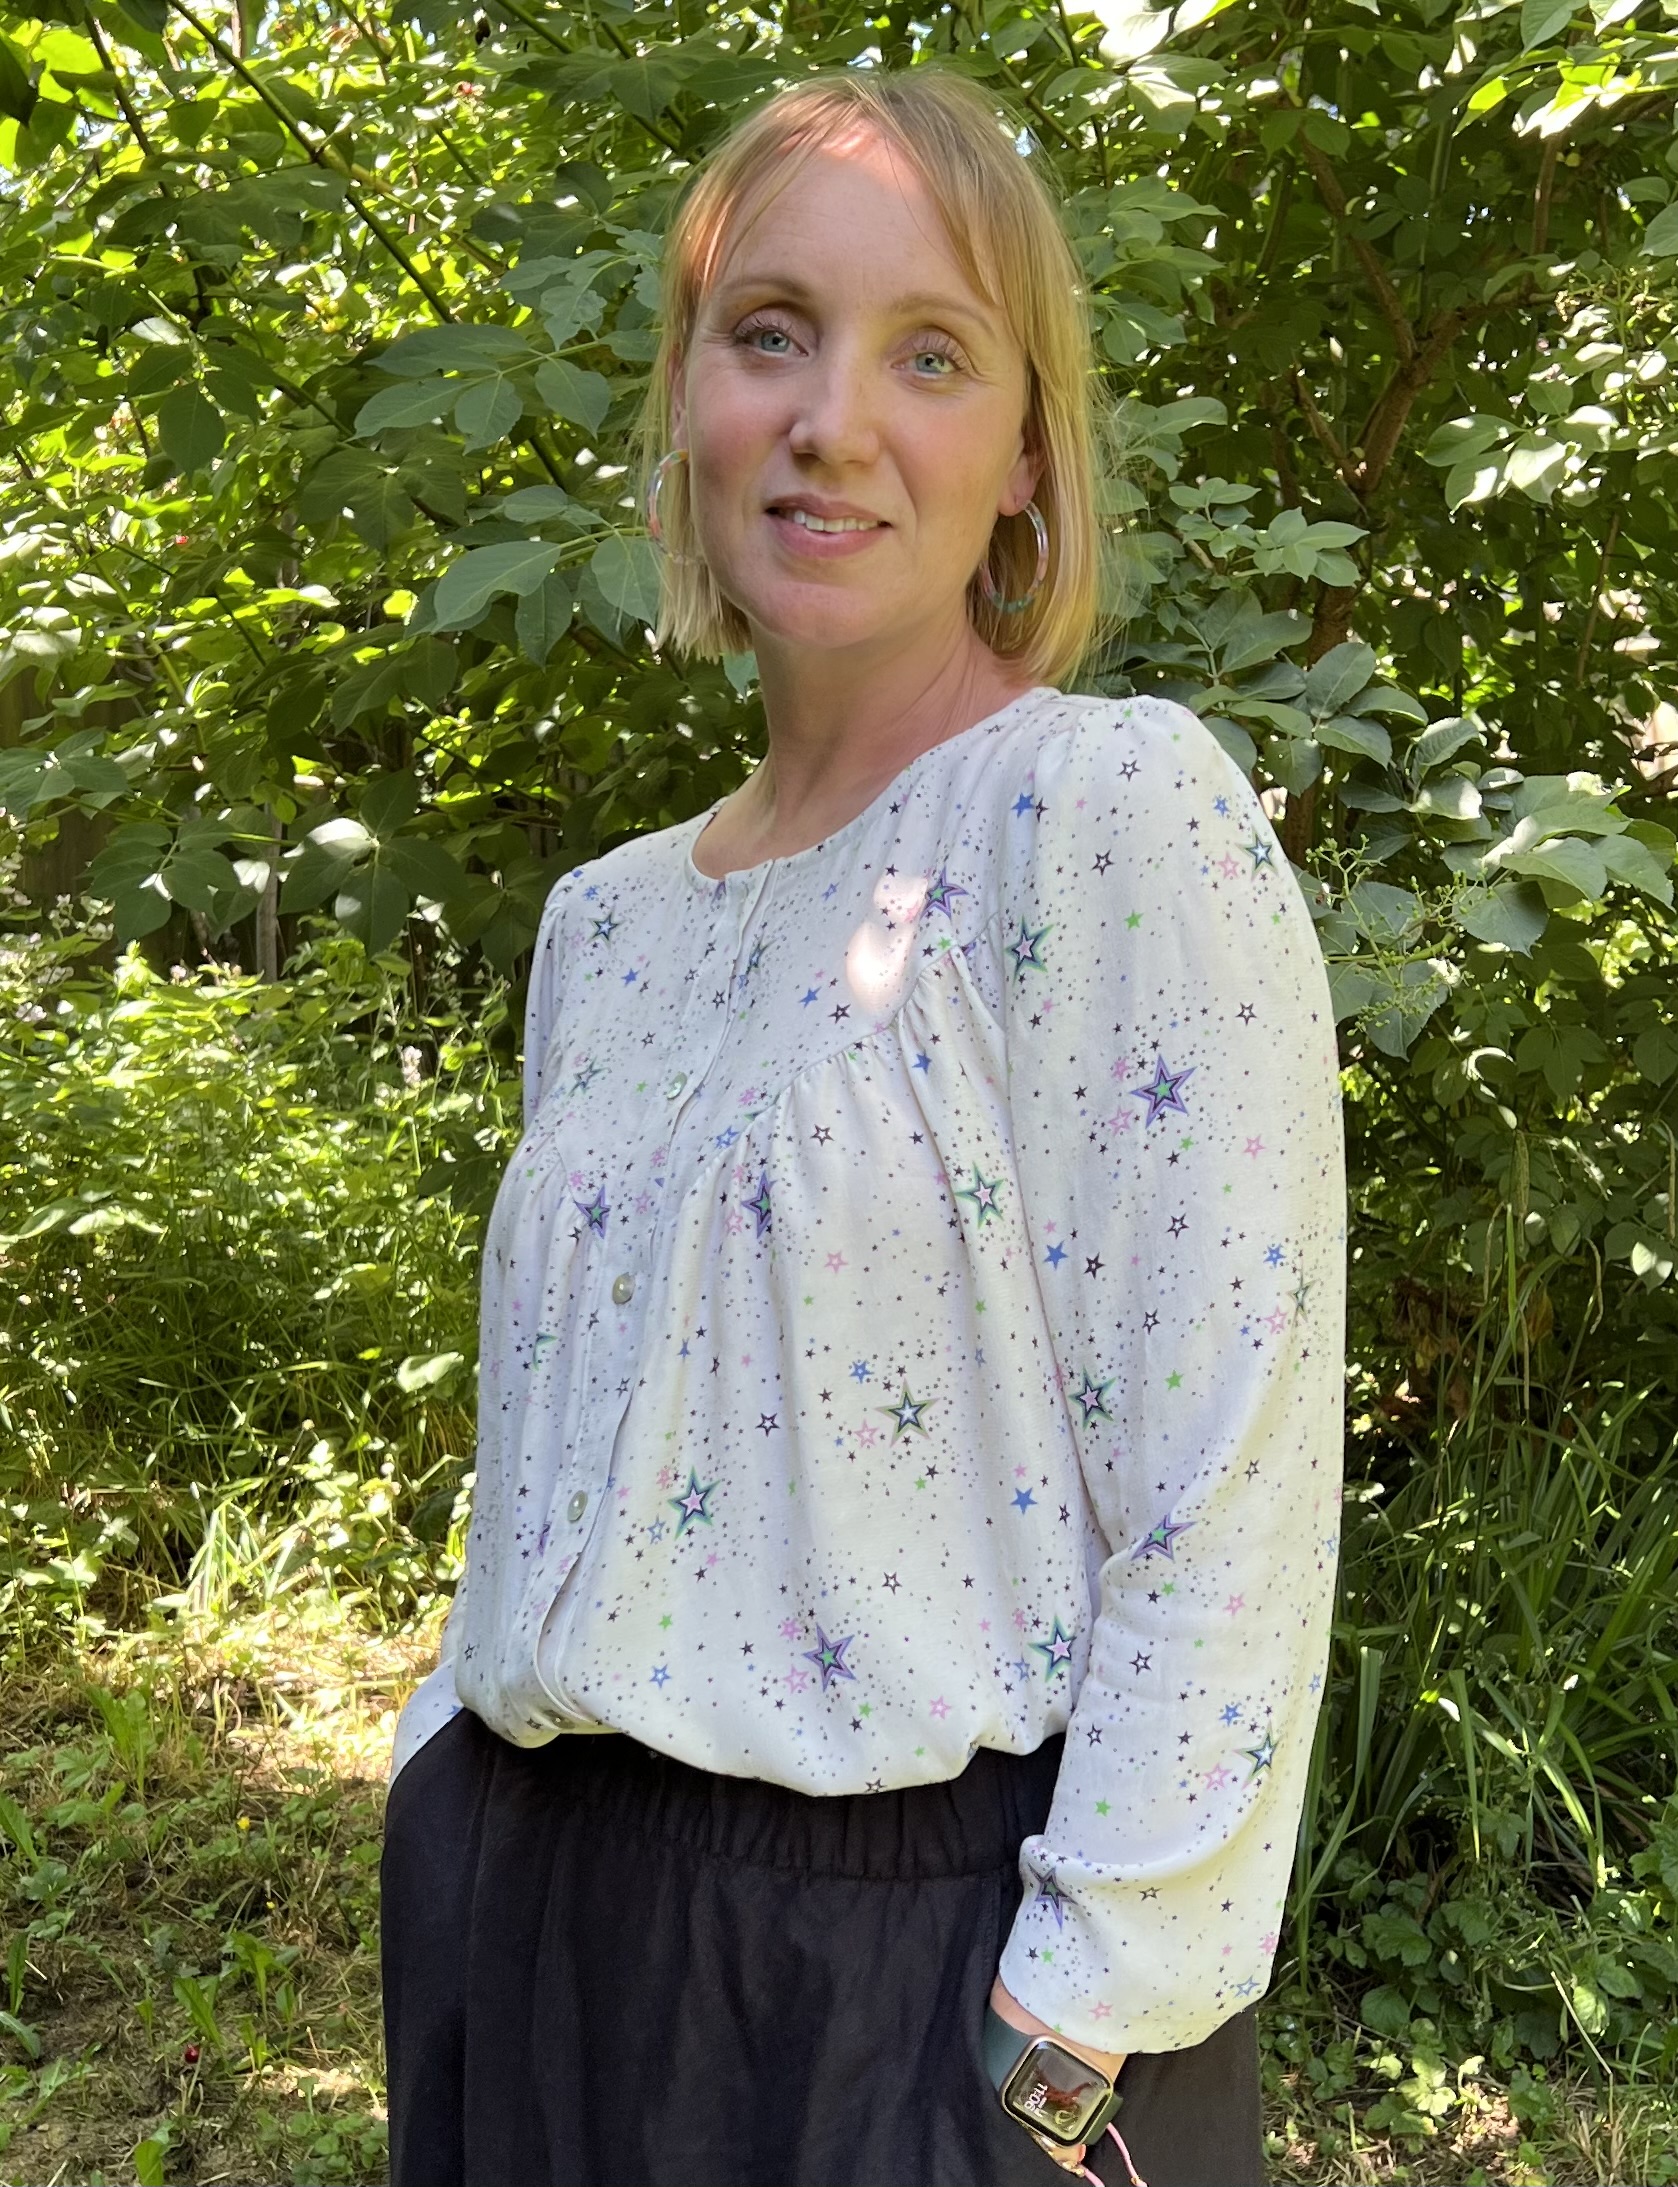
The fabric this month is an exclusive preview of a new Fabric Godmother print that will be launching later this year. Stella has a scattering of delicate stars in our favourite colours. Pink, Emerald, and Cobalt Blue. The fabric is a viscose crepe which has a wonderful drape and feels beautiful and cool against the skin.
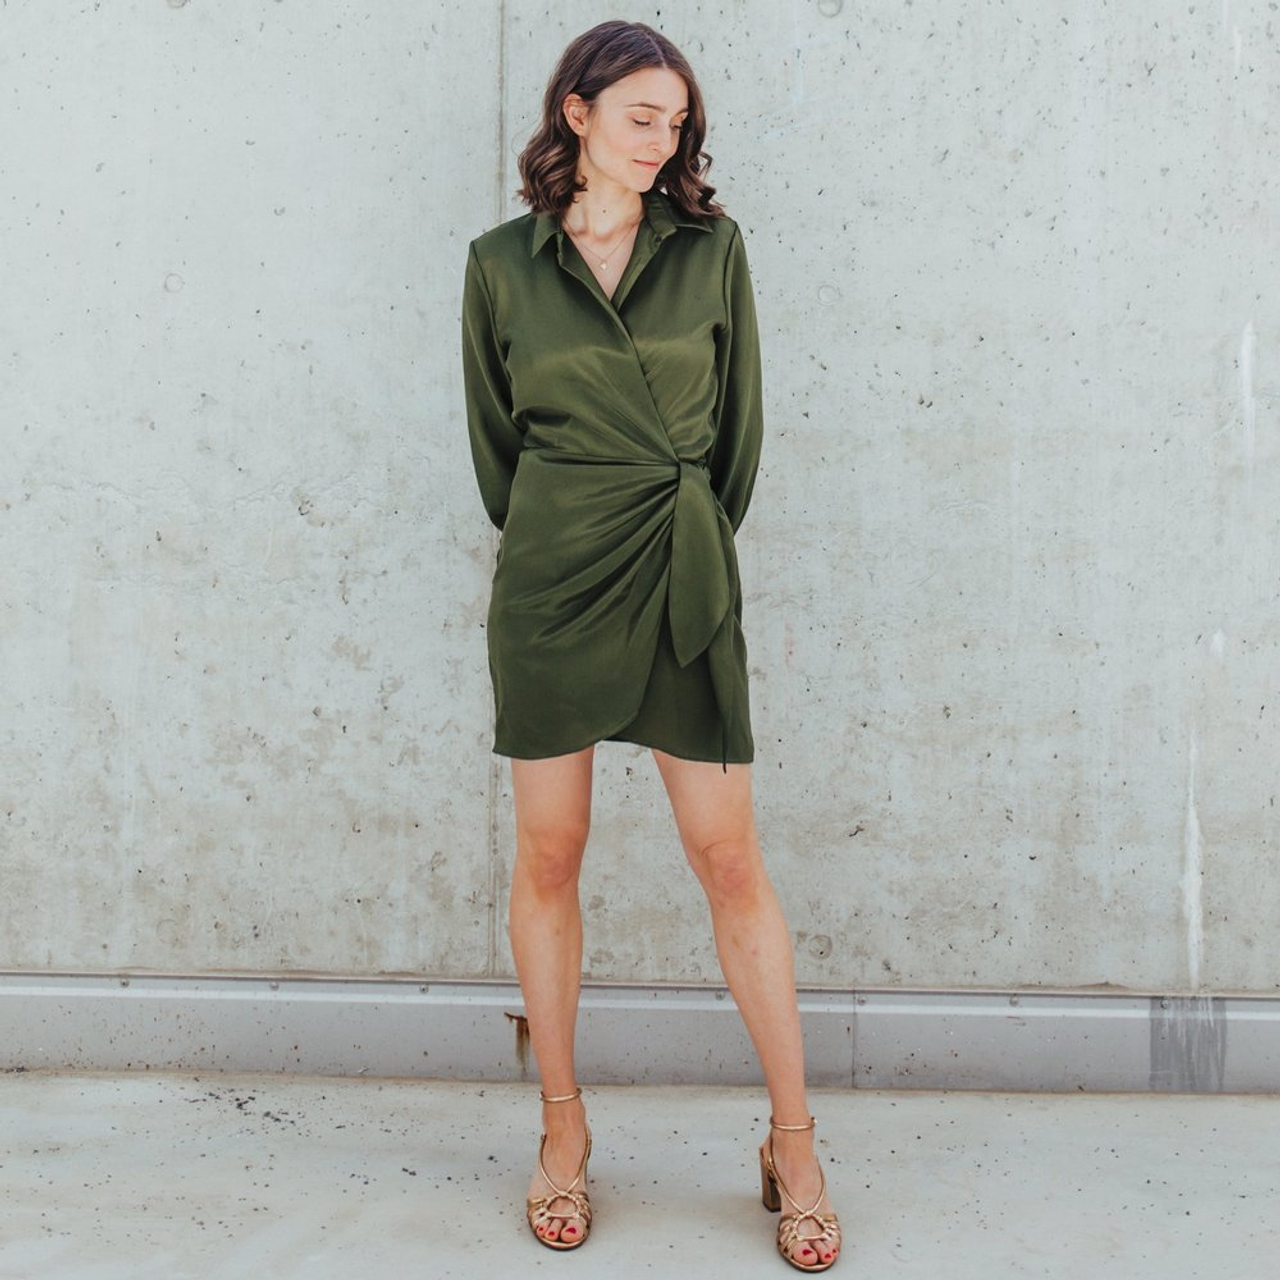
Here are some ideas for other patterns that would work really well in this fabric:


I always recommend that you pre-wash your fabric. This is especially important with fabrics that are made from natural fibres (cotton, linen, viscose etc) as these have more of a tendency to shrink.
Scrap Busting Projects:
One of our subscribers pointed out that there is often left-over fabric from her Dream Wardrobe. So, I suggested that each month I include some scrap busting ideas for the fabric we send out.
Zoe, our Sustainability Coordinator, found this brilliant free doll dress pattern. Find all the details on her blog:
https://sozowhatdoyouknow.blogspot.com/2022/01/free-pattern-friday-school-cool-dress.html
About the pattern:
This pretty blouse pattern screams French chic to me. A simple neckline with a subtle gathered detail across the bust. This gives the blouse a flattering drape and also looks beautiful with those delicate stars.
PLEASE NOTE: This pattern does not include seam allowances, so make sure you add them on when cutting out your fabric.

I also think that this pattern would be brilliant made in the following fabrics
Embroidered Cherry Stripe Cotton Lawn
Notions required:
All available form Fabric Godmother.
- Matching thread (we have sent you a reel of the Gutermann rPET thread made entirely from recycled plastic bottles)
- Buttons
- Interfacing
About your gift:
These sweet buttons were designs for us exclusively by Pigeon wishes. The little green stars compliment the fabric design beautifully.
#fgdreamwardrobe
Please use the hashtag #fgdreamwardrobe and share your unboxing and makes on social media.
Happy sewing, Josie xxx
Zoe's Sewing Tips for the Ermine Blouse
PLEASE NOTE: this pattern DOES NOT include seam or hem allowances!
The pattern includes a diagram with suggested seam and allowances to add to the edges of the pieces before you cut the paper pieces out. It recommends adding 1cm / ⅜” to all seams, however if you feel more comfortable using 1.5cm / ⅝” seam allowances, or some other measurement, you are free to add that instead.
Many sewists find it helpful to use top and bobbin threads in a contrasting colour when making gather stitching. This makes it easier to see which ones to remove after the seam has been stitched. To avoid a lot of swapping threads over throughout this project, I would recommend altering the order of construction. Stitch all the rows of gathering stitches (the upper edges of the front, the upper edge of the back and the sleeve heads) all at the same time at the beginning, then you can change over to your matching thread for the rest of the seams without needing to swap them again.
I would also advise stay-stitching the curved neck edge of the front and back pieces before you pin it to the lower bodice pieces. The curves are liable to stretch out when the pieces are being handled, so stay-stitching should prevent that. Stay-stitching is simply a row of stitching that you do within the seam allowance. Usually there’s no need to unpick it as it won’t be visible. The only issue with this is that the seam allowance around the neck edge is a scant 0.5cm (if you added the allowances recommended on the pattern), so you might need to add the stay-stitching outside the seam allowance this time and remove it once the neck binding has been applied.
If your fabric is quite springy and doesn’t press well, or you prefer the look, you could add some optional topstitching along the edge of the yoke to trap the seam allowance in place.
One point of confusion I had with this pattern was Step 6 where you are required to hem the garment before attaching the button plackets. The instructions look like they suggest you turn the bottom edge up by 2cm, and then 2cm again before edge stitching in place. However, if you added the suggested hem allowance (3cm), you actually need to turn the bottom edge up 1cm, and then 2cm and then edge stitch.


