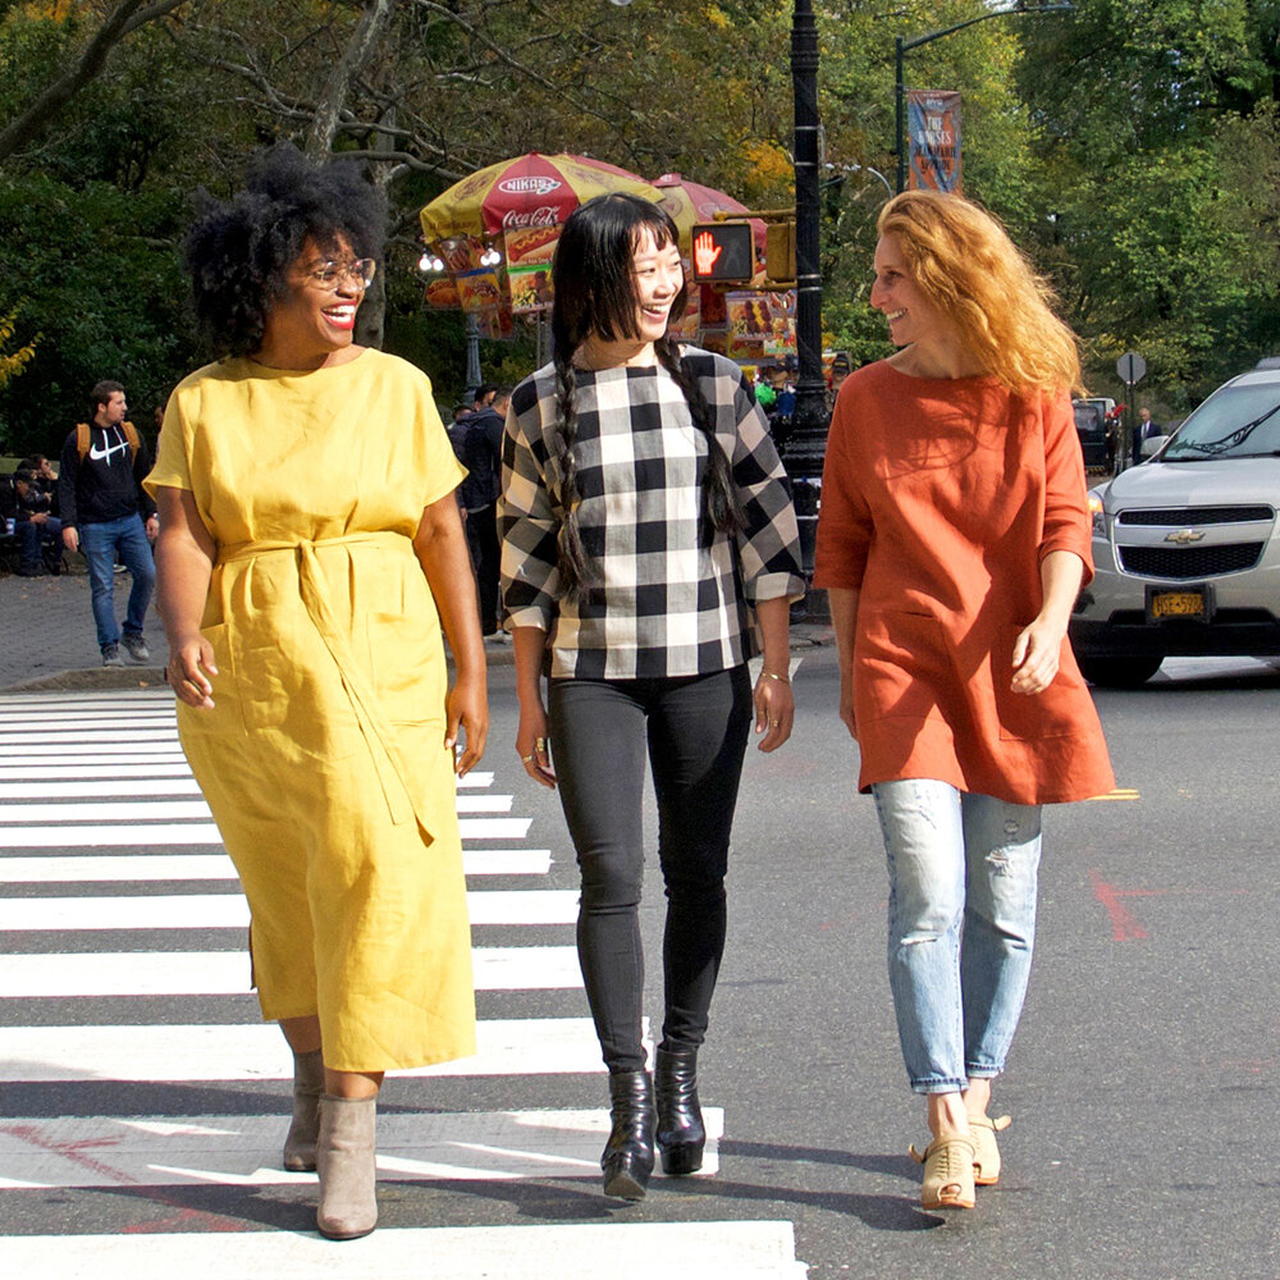
Welcome to your February 2022 Dream Wardrobe.
UK SIZES 6-30
I love a blouse and jeans, it’s one of my favourite outfit combinations as it can be so versatile. It works all year round. In very hot weather swap the jeans for cut offs. In winter, add extra warmth with a thermal polo neck and a chunky cardigan.
A blouse and jeans combination can also change with the shoes you wear from sky high heels making you look polished to Birkenstocks for a more casual feel. To mix it up even more you can choose to tuck in, un-tuck or go for the French Tuck.
As I hope you know by now, I am all about versatile sewing, the more occasions we have to wear our Me made clothes the better. Think of all the time and care that you put into making a garment, you really don’t want it to be stuck in the wardrobe for half of the year.
About the fabric:
This month we have included some of the Fabric Godmother collection cotton lawn. This wonderful quality cotton lawn has an almost silky finish to it and is a dream to sew.
The designs are vintage, Cira 1930’s from a New York garment district swatch book. With the help of The Print Pattern Archive we have digitised these designs and brought them back to life. Such an exciting project for us and I hope you love it as much as we do. You will either have Maddie, a bubbly pink floral, or Luna trees, a lovely blue design with trees and the moon.
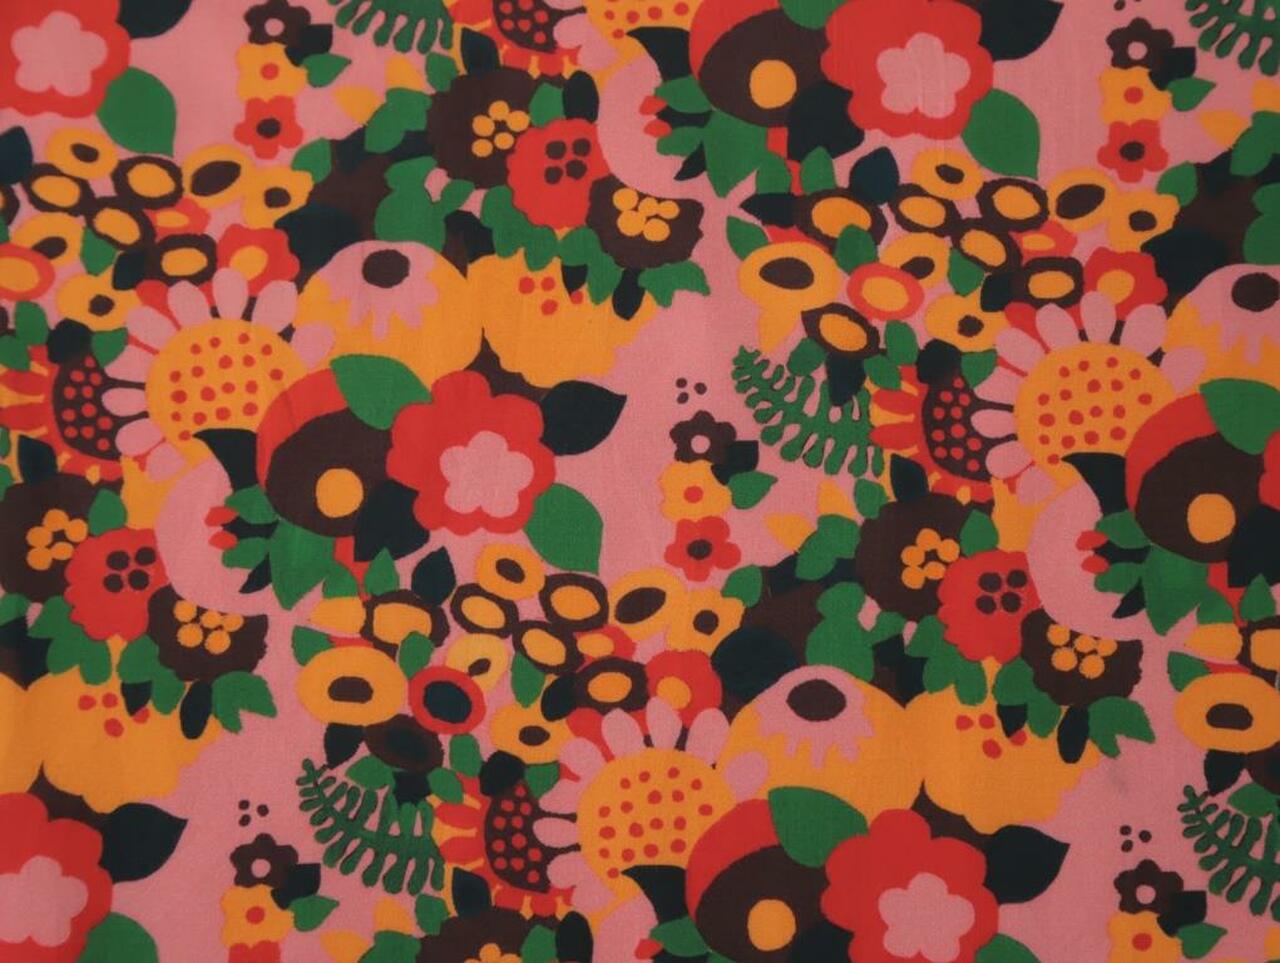
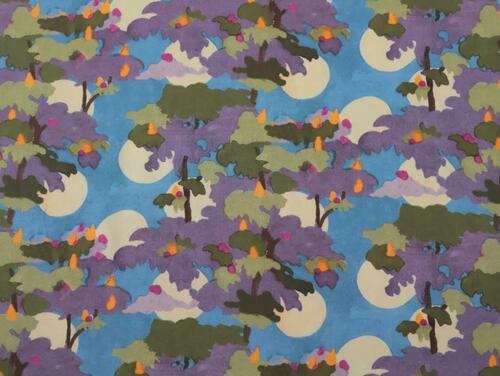
Cotton lawn is such a great fabric to sew with and very versatile. Here are some other ideas of patterns that would work well for cotton lawn:
Christine Haynes Lottie Dress, Top & Tunic (Beginner)
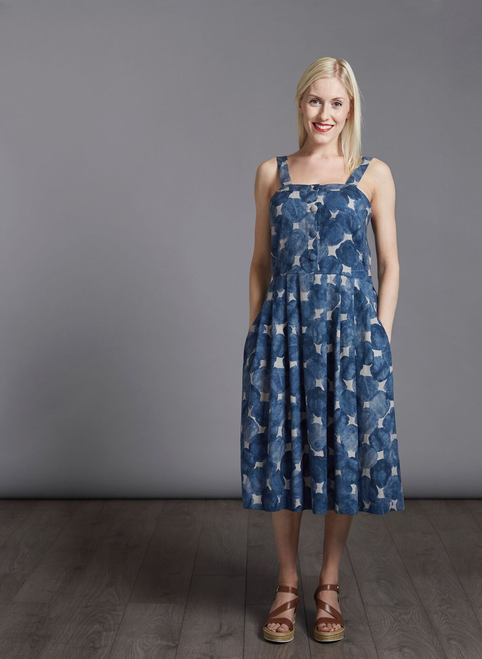
The Avid Seamstress The Sun Dress (Intermediate)
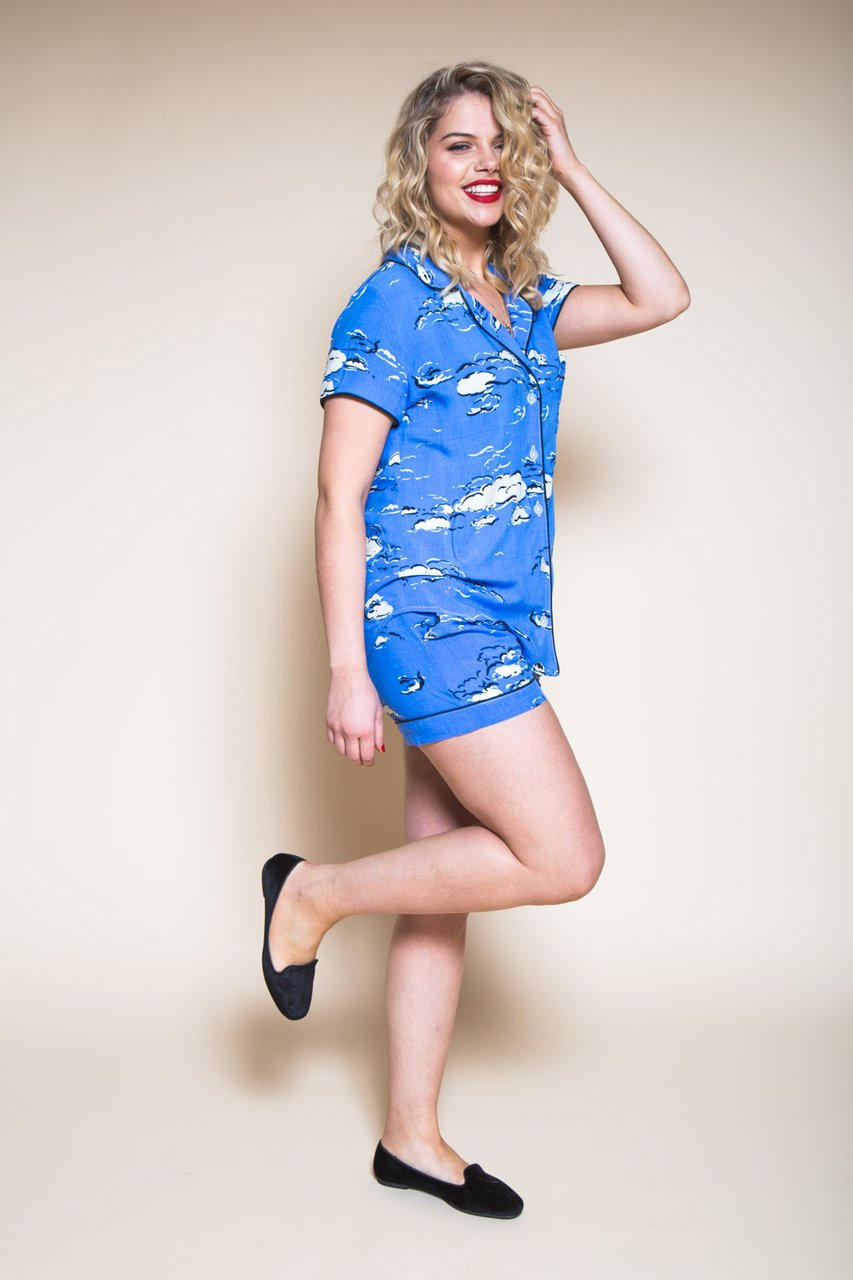
Closet Core Patterns Carolyn Pajamas (Intermediate)
I always recommend that you pre-wash your fabric. This is especially important with fabrics that are made from natural fibres (cotton, linen, viscose etc) as these have more of a tendency to shrink. Also, they are more likely to have a dressing added at the factory that can change the feel and handle of the fabric once washed.
Make sure the fabric is unfolded, place in the drum and wash at 30c. Once finished, take the fabric out of the machine straight away and hang it up to dry.
About the pattern:
The Patina blouse from Friday Pattern company is really sweet. I love the collar with the V neck. It makes me feel very ‘French Chic’ when I wear it. It would look so good made in many different fabrics like a textured white cotton or a silk for a fancy occasion.
Here are some fabrics inspirations for you to try as well:
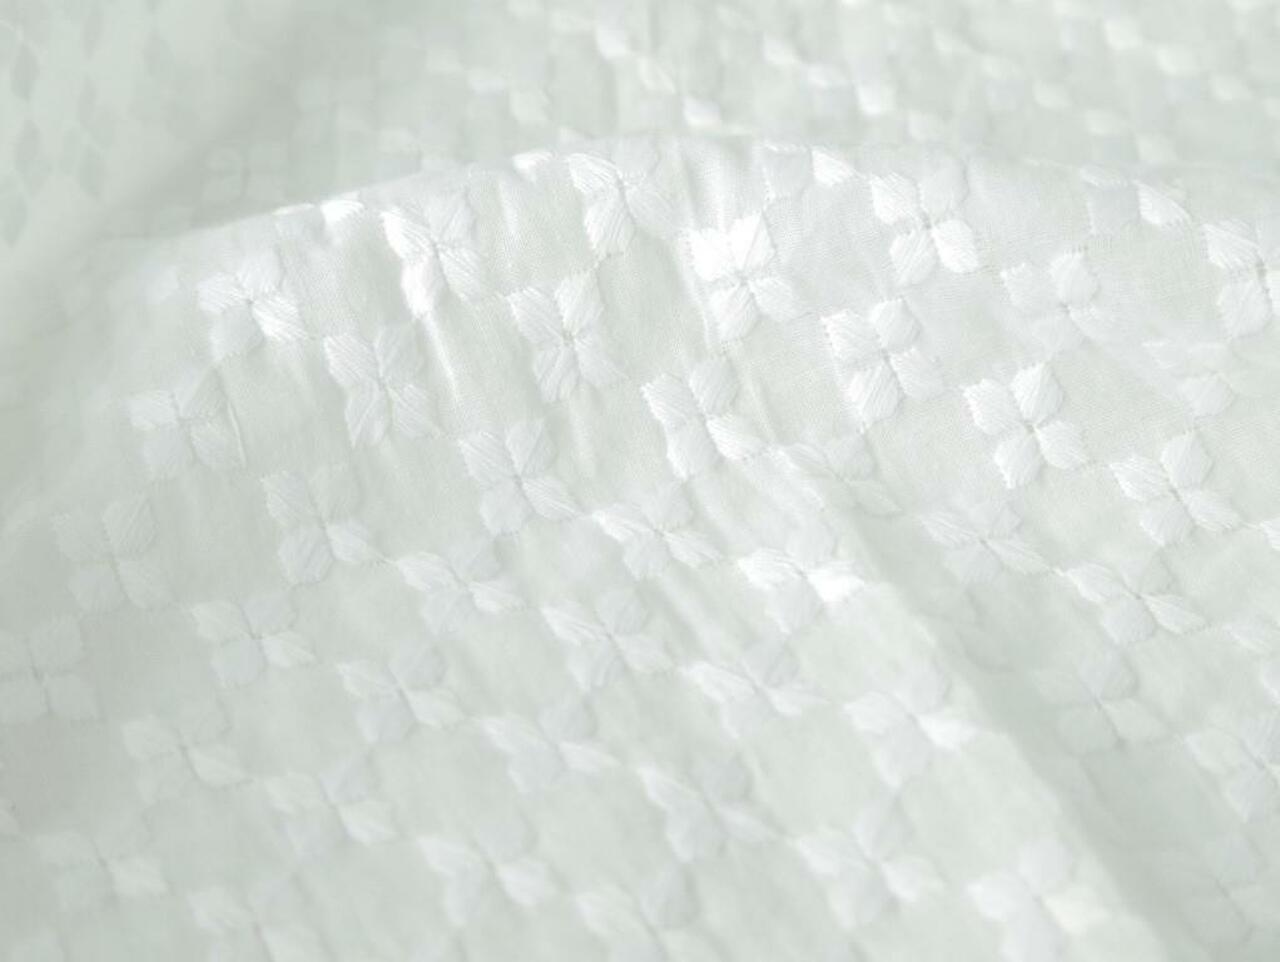
Iris Embroidered Cotton - White
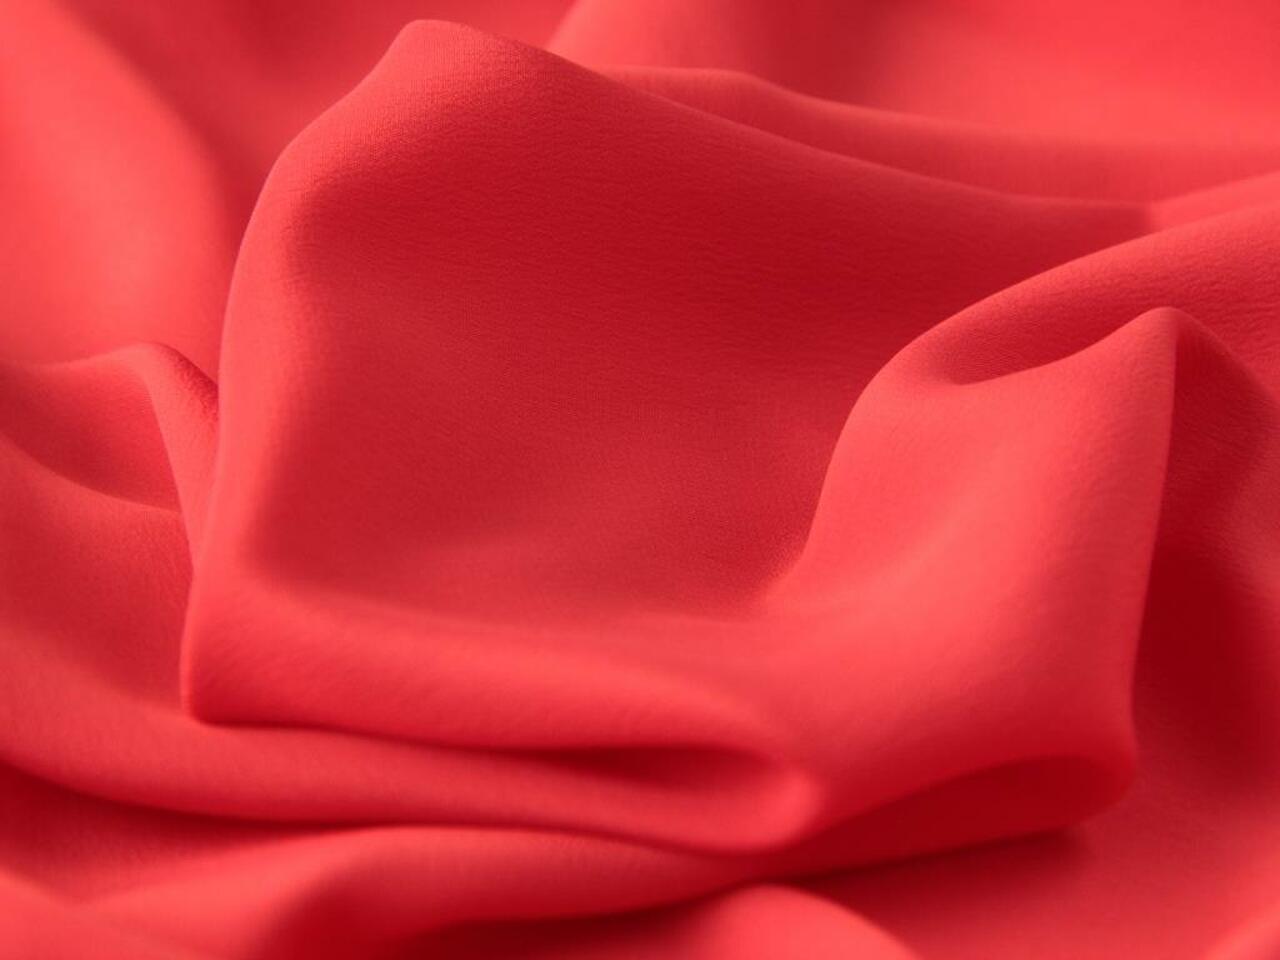
Silk and Acetate mix Crepe - Hot Coral
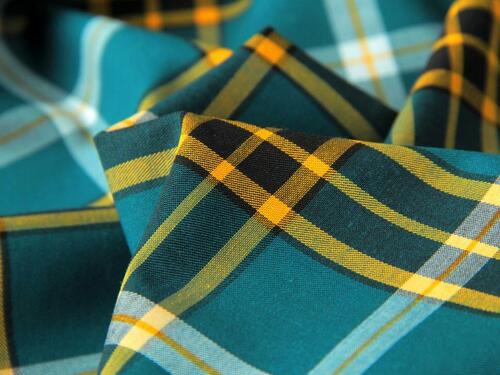
Kenza Check Cotton Poplin - Teal
Notions required:
All available form Fabric Godmother
- Matching thread (supplied)
- Buttons 13mm (5 for short sleeved version 7 for long)
- Light weight Iron on Interfacing (60cm)
About your gift:
The Maker’s workbook is the perfect dressmaker’s companion. Make notes and keep a record of your makes so you know what changes to make next time. Keep a track of your fabric stash and plan future projects with this handy workbook.
#fgdreamwardrobe
Please use the hashtag #fgdreamwardrobe and share your unboxing and makes on social media.
Happy sewing, Josie xxx
The Patina Blouse - Julia's Sewing Notes
Prewash fabric
I found no noticeable shrinkage after washing at 40°C.
Ironing
This fabric irons beautifully and easily. I used almost the maximum heat setting on my iron and a little steam.
Cutting Out
If you’re unsure of which size to cut, look for the ‘Finished garment measurements’ to help you choose the right size. There are also some notes in the pattern instructions under ‘Fit Notes’ which can help you decide.
I made the lower neckline version with long sleeves. I added 5cm to the sleeve length which is my usual sleeve adjustment, but I could have added more length to the sleeves as they still do not reach my wrists.
I cut the collar out last, and since you need 4 fabric pieces, I cut this pattern piece through 4 layers of fabric to speed up the process.
Transferring pattern markings
Make sure to transfer all the notches – these will help with matching the pieces together and the placement of the collar.
The pattern doesn’t suggest this, but I think it’s necessary to staystitch either side of the slash line on the sleeve to stabilise the fabric. To do this, first I drew two lines onto the pattern, the lower end of each line was marked 6mm either side of the slash line and the lines were joined to the marking at the top of the slash line, forming a triangle marking on the pattern.

I transferred the staystitching lines I’d created to the fabric, including the lower edge of the slash line, and the top of the slash line / tip of the triangle I’d drawn.
On each sleeve I followed my staystitching line, taking one stitch across the top of the triangle, rather than pivoting at the top. After staystitching, I cut along the slash line up to the top stitch. You can see this explained more clearly in a video which is referenced further below.
According to the pattern instructions on the pattern tissue, the button markings on the pattern denote the centre of the buttonhole. Make sure that you are aware of this and mark up the buttonholes accordingly. I transferred the button marking and then created a sample buttonhole to work out how long the buttonhole should be.
Interfacing
The pattern suggests that you interface only half of the cuff and part of the neckline facing. The cotton lawn fabric is quite lightweight so I chose to interface the whole of the cuffs and facing pieces for more stability and structure.
Making up the garment
I used a size 80/12 universal needle as the fabric is lightweight. Make sure to use a fresh (ish) needle as this fabric will easily be snagged by a blunt needle.
The seam allowance on the pattern is 1cm.
I edge finished all the seams with a 3-thread narrow overlocking (serging) stitch. This is my preferred method for overlocking woven fabrics which don’t easily fray. Simply remove and unthread the left needle of your overlocker (serger) to create a narrower stitch.
The instructions explain how to attach both of the back yoke pieces to enclose the seam allowance along the gathered edge of the back. If I made this again, I’d skip steps 9 and 10, and attach both back yokes to the back first, making sure the gathering along the back was neatly distributed. Then I’d attach one back yoke to the front along the shoulder seam, and use the ‘burrito’ method to stitch the final back yoke along the shoulder seam.
When understitching in step 16, I chose to staystitch the whole of the facing, not just the front edge.
I used a different method to attach the ‘Placket Binding’ (or ‘Continuous Lap’) to the sleeve. To begin, I omitted step 10 and skipped the ironing of the placket. I then attached the right side of the placket to the wrong side of the sleeve. You can see this method in my video ‘How to Create a Shirt Cuff with a Continuous Lap’ which includes staystitching around the slash line of the sleeve:
https://www.youtube.com/watch?v=yb-aFC_CtAw&t=313s
When attaching the sleeve, I decided to reduce the area in which the gathering appears and focus the distribution of gathers around the sleeve head. I think this looks better and creates more volume at the sleeve head.
I used a slightly different method to attach the cuff, this is shown in the Shirt Cuff video, which includes the placement of the buttons and buttonholes on the cuff.
When it comes to sewing on the buttons on the front of the shirt, take care with the placement of these once the buttonholes are sewn and cut. The buttons should be placed 3mm from the top of each buttonhole. I’ve made a video explaining this process, including how to correctly sew on the buttons to include a ‘thread shank.’
https://www.youtube.com/watch?v=ziZ_IbosETs&t=1s
More tutorials and videos on techniques can be found at www.houseofmisssew.com.

