Welcome to your December 2023 Dream Wardrobe.
UK SIZES 6-30
LP Pullover instructions sizes (6-20)
LB Pullover instructions sizes (16-28)
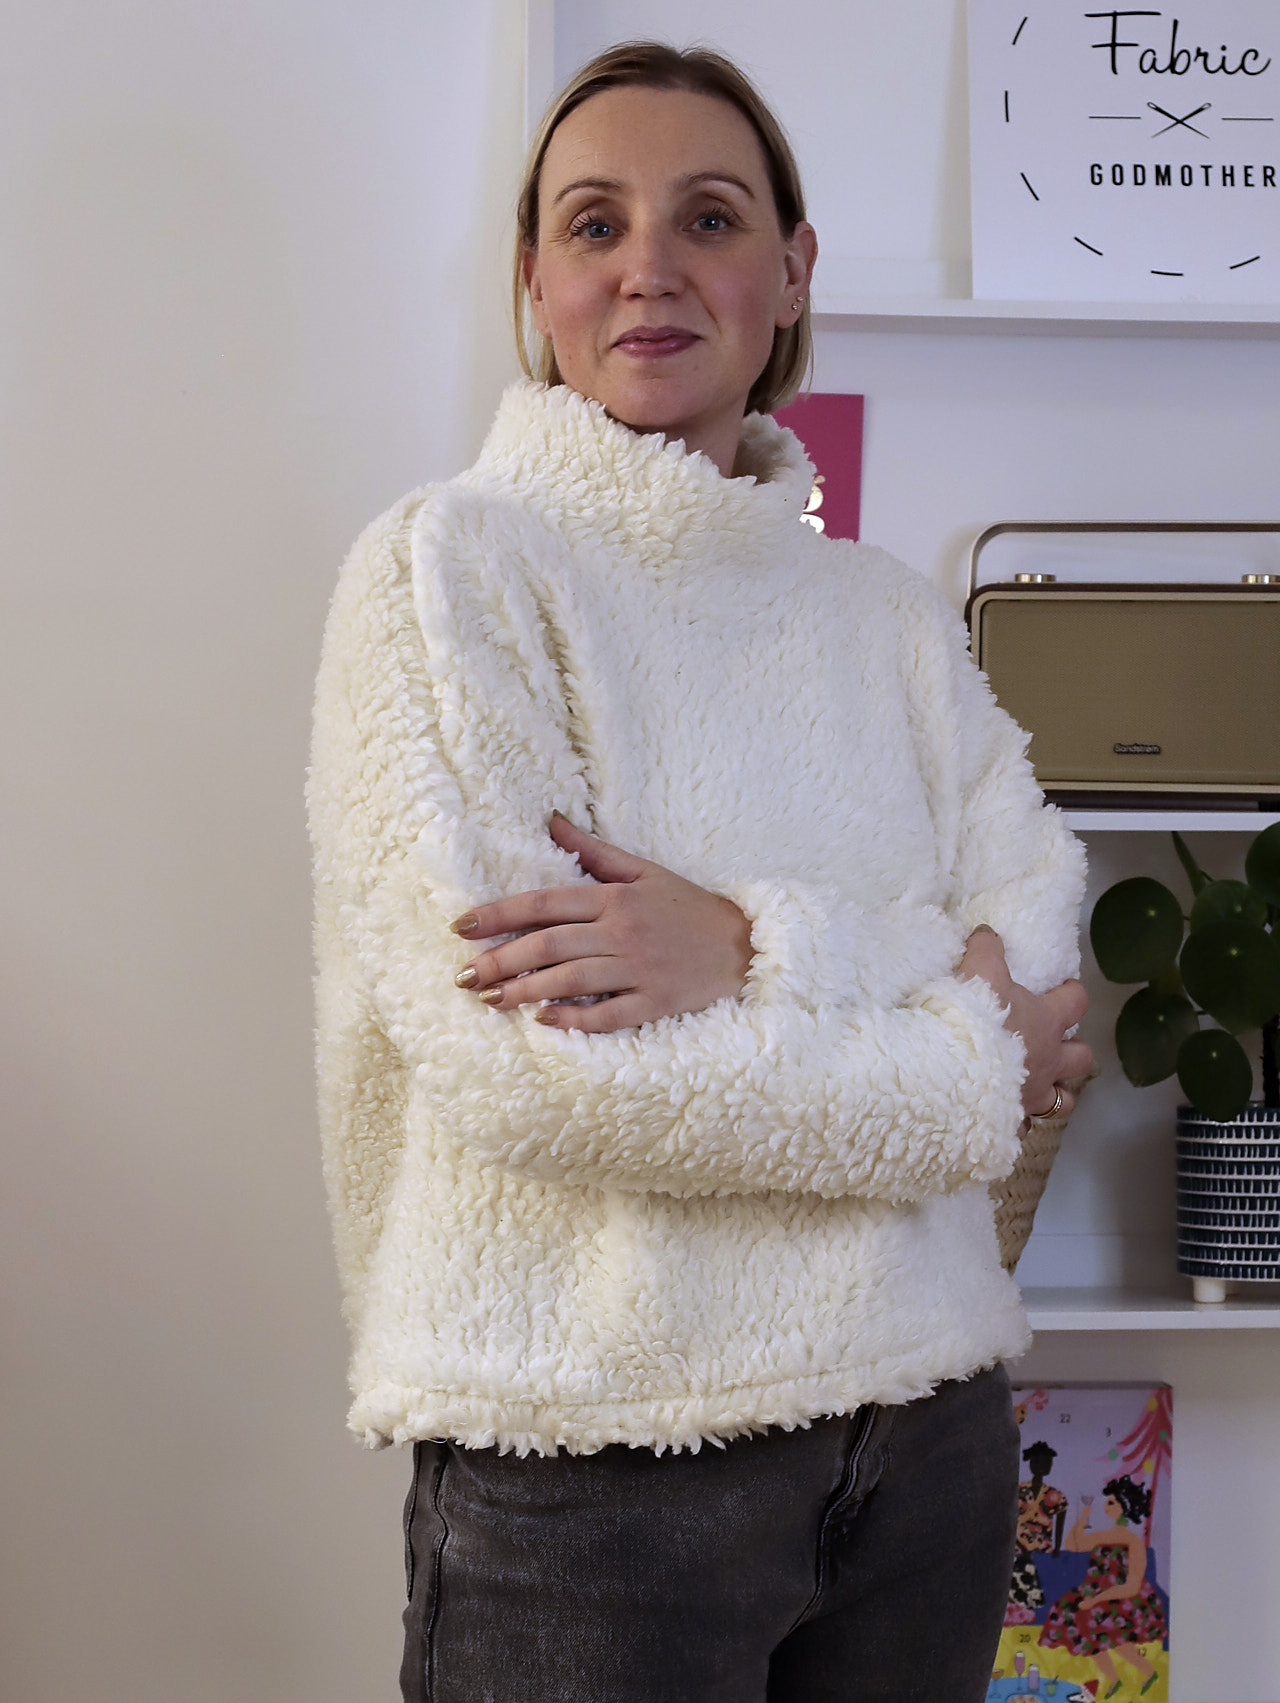
Sherpa and shearling are having a moment right now and it’s no surprise. As the nights are drawing in and the days are getting colder, I’ve been reaching for all of my cosiest clothes to get me through. The LB Pullover by Paper Theory paired with our snuggly sherpa fleece fabric, make the perfect combination for a soft and cuddly jumper.
About the fabric:
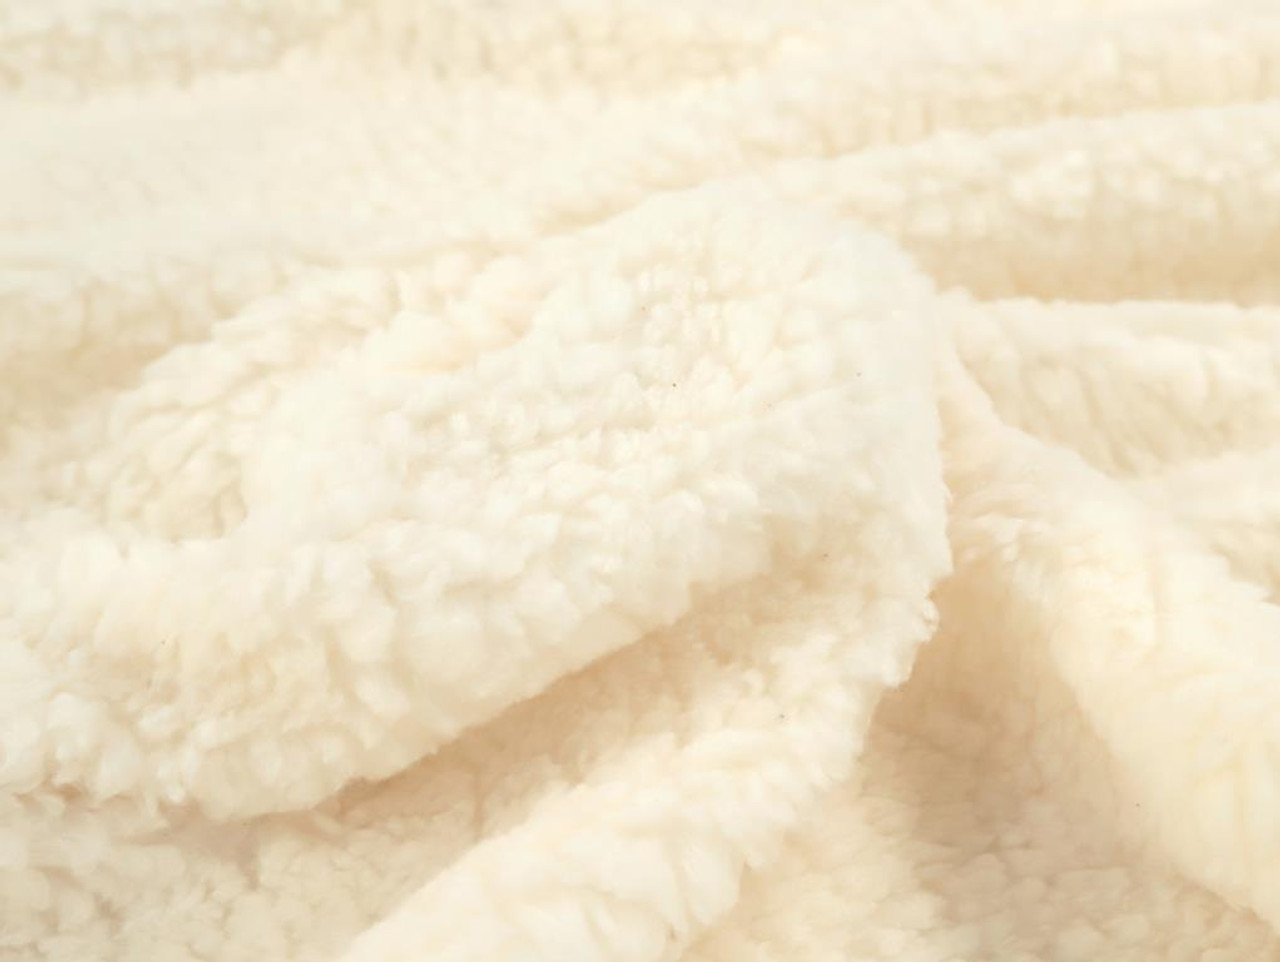
Our Sherpa Fleece Ivory is woven specially for us in Italy. It has a thick, squashy fleece pile, around 50% stretch and is super soft on the reverse - making it extra snuggly to wear.
I always recommend pre-washing your fabric, however with fleece, there is nothing quite like the fluffy ‘brand new feeling’ you get before it’s first wash. If you want to experience that, then you can size up slightly, although luckily the LB Pullover has a generous fit. When washing this fabric I suggest a cool wash (the cooler the better for the environment I wash pretty much everything on 20) - but make sure you pre wash the fabric at the temperature you intend to wash the finished garment at. I wouldn’t recommend tumble drying this fabric.
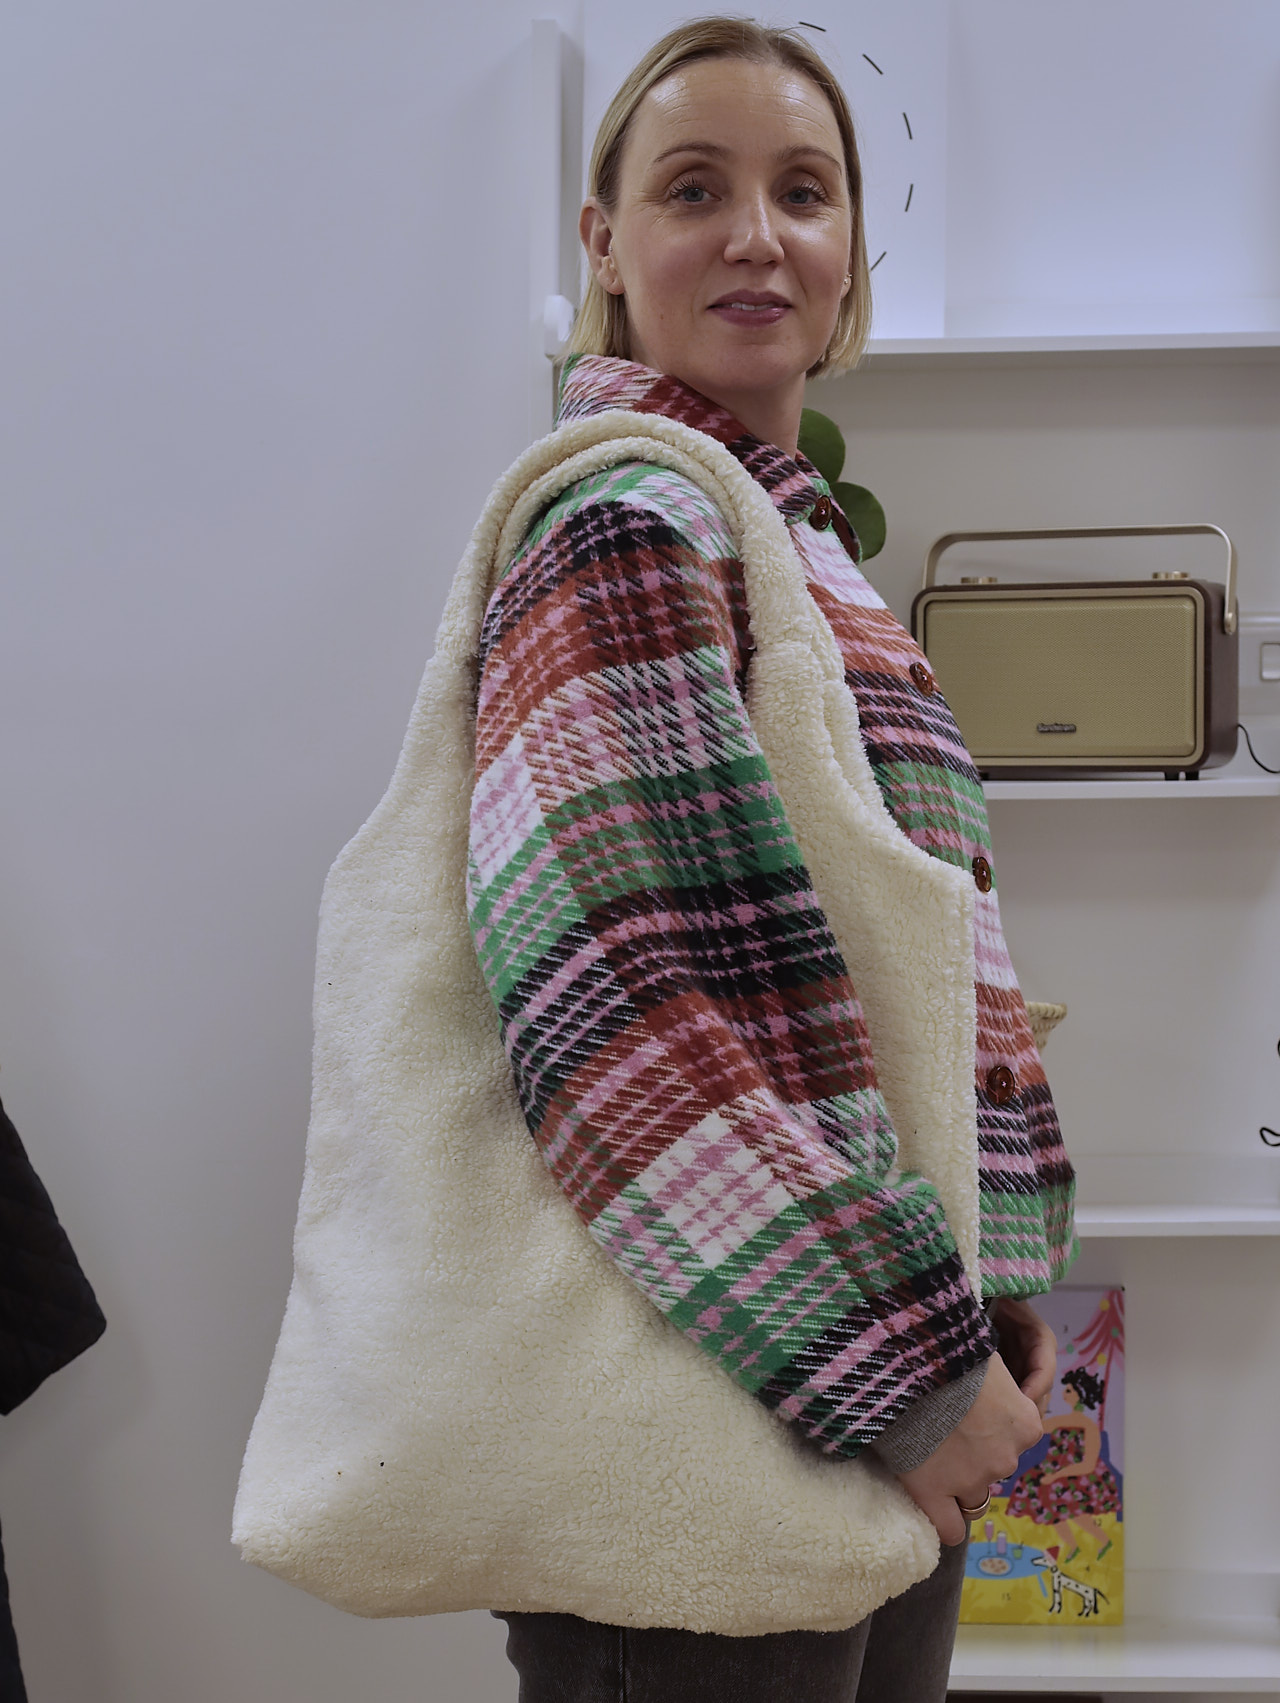
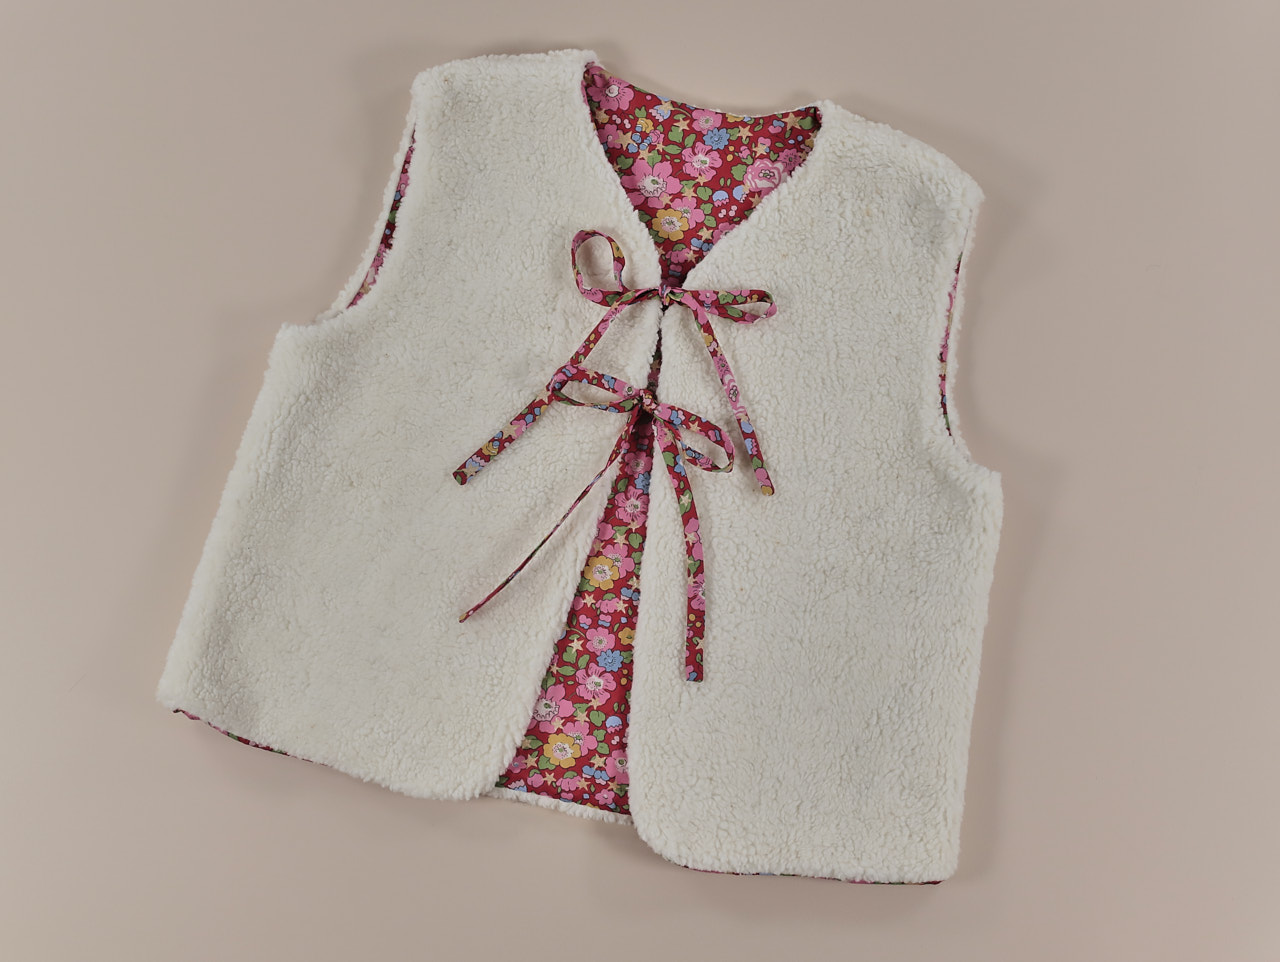
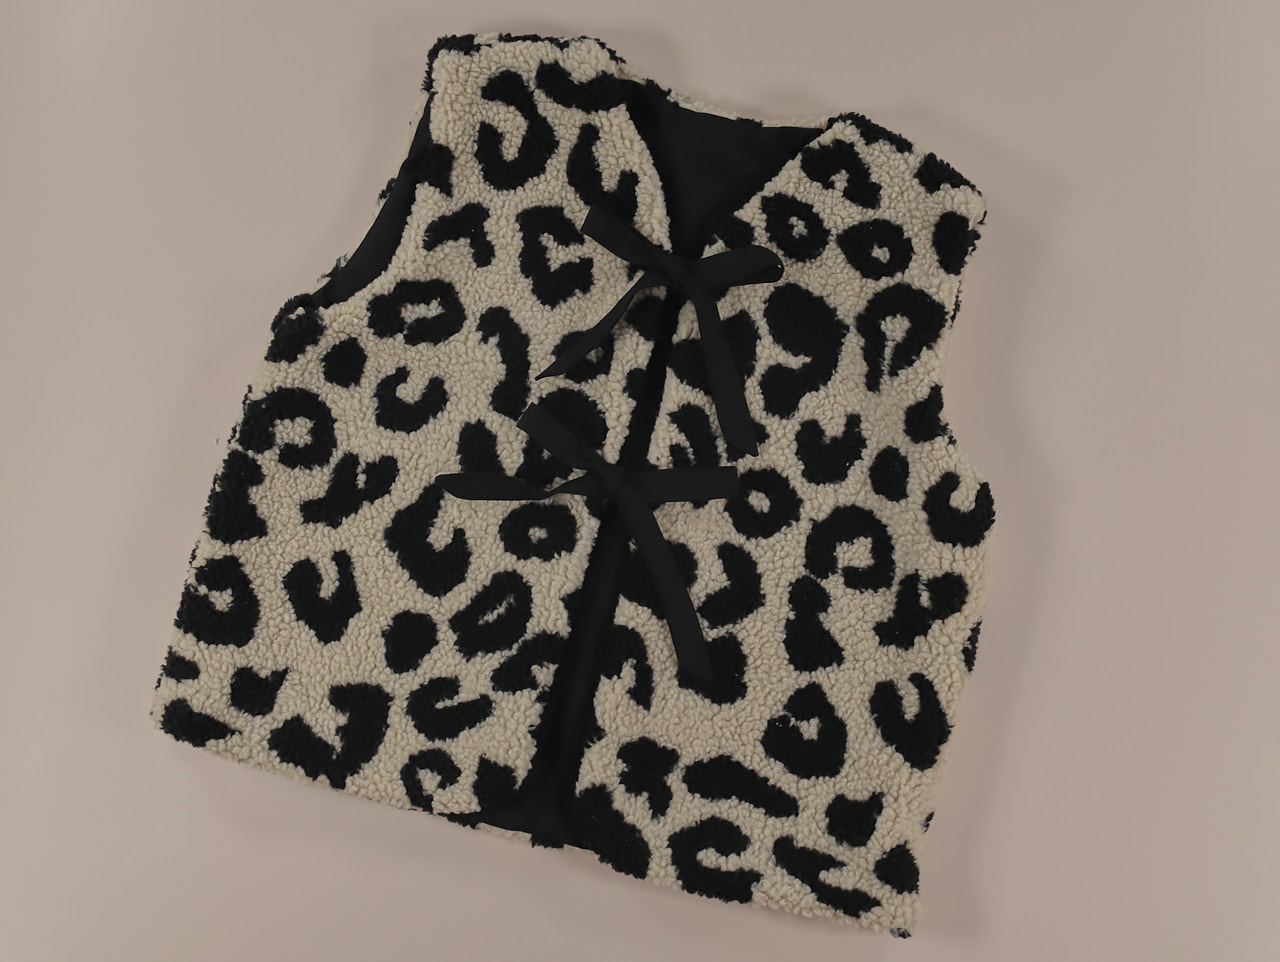
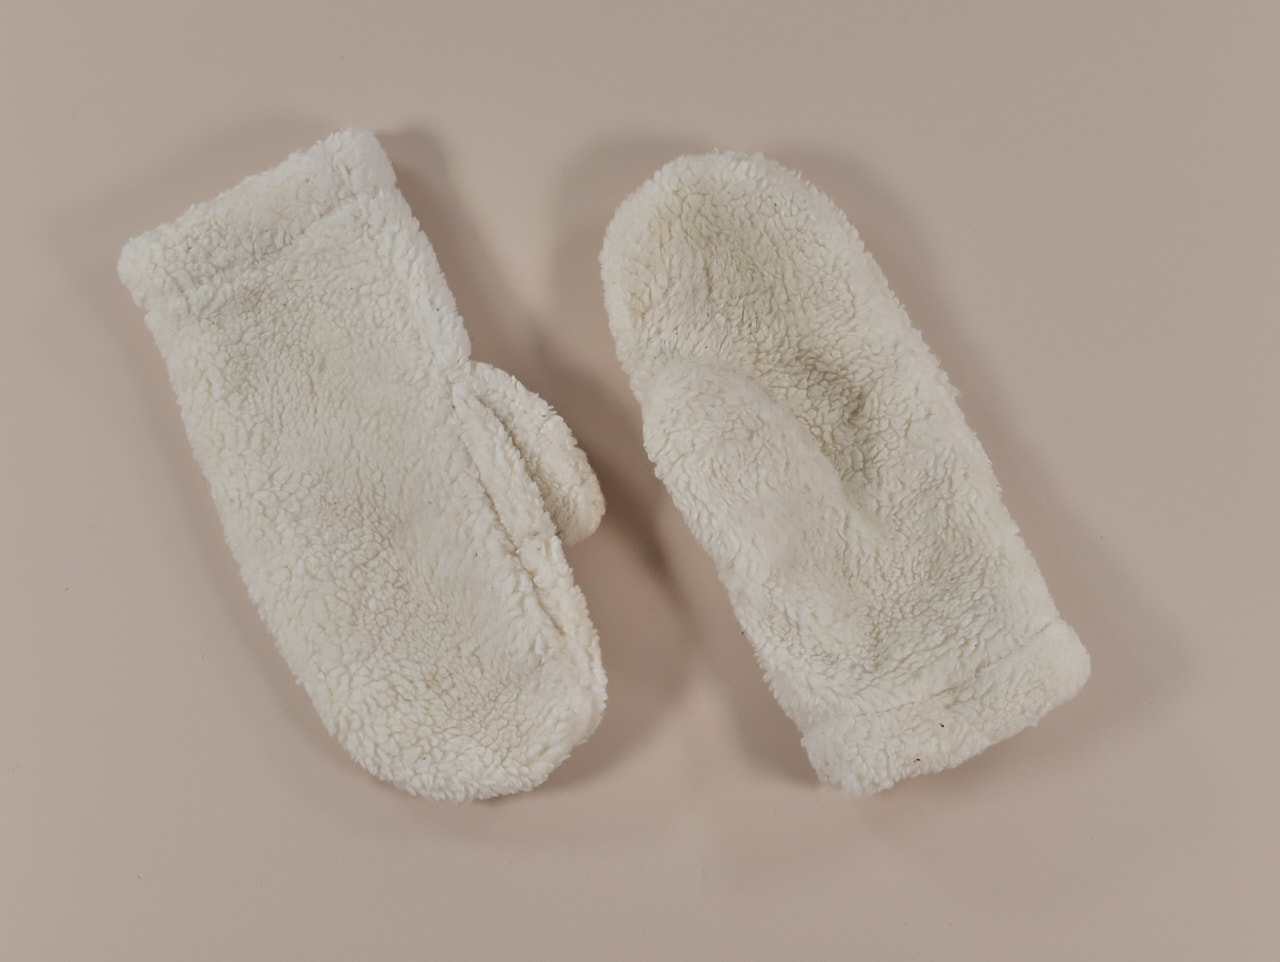
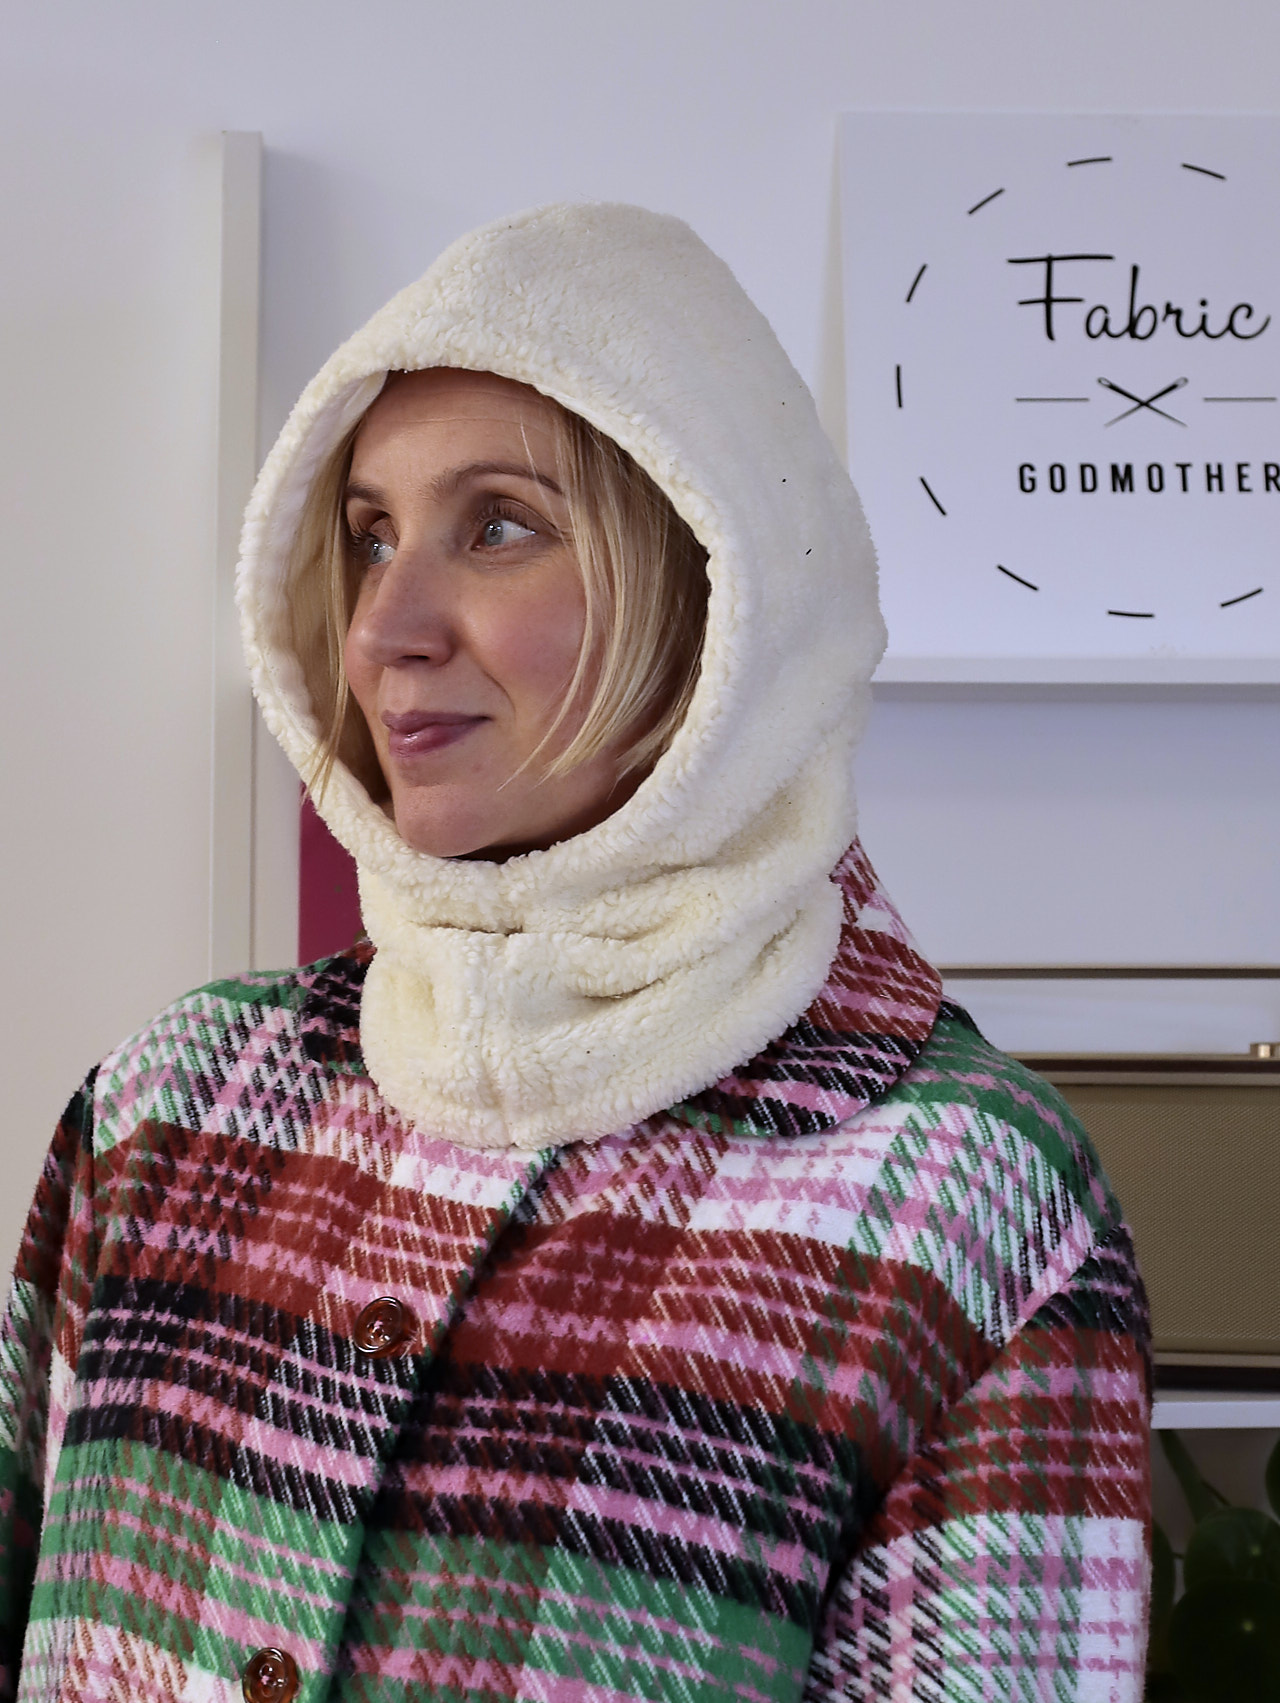
We have given you 1.6m of our Sherpa Fleece fabric this month. If you decide to use something else for the LB Pullover, there are so many great things you can make with sherpa. I got a little carried away this year and have so far made mittens, two waistcoats, a bag and a balaclava hat. You could also make a super snuggly scarf or how about a hot water bottle cover!
About the pattern:
The LB pullover is a quick and easy to sew jumper with full length sleeves, designed to be made in a low stretch fabric or a woven. It comes with two options. Option A is a turtle neck, option B is a regular crew neck. My version is option A.
Notions required
We’ve made sure you have everything you need this month so if you want to make your jumper between Christmas and New Year, you don’t have to pop to the shops for anything!
- Matching thread (we have sent you a reel of Gutermann rPET thread)
The LB Pullover would also be great in the following fabrics:
Super Thick Sweatshirt Fleece
Organic Sweatshirt Fleece - lots of new colours coming to the website soon!
About your gift:
It’s Christmas so we’ve included two gifts in your box this month!
The Merchant & Mills Baby Bow Scissors are hand finished in smooth black with a monogrammed M for Merchant & Mills - perfect for snipping little thread tails.
The Kylie and The Machine Fabric ID tape is here for all your stash-organising needs. You'll never have to wonder 'have I already pre-washed this?' or 'what fibre is this fabric?' ever again… This low-tack adhesive tape can be written on to organise and categorise your fabric - great for starting the new year with an organised stash!
#fgdreamwardrobe
Want to share your Dream Wardrobe? Use the hashtag #fgdreamwardrobe and share your unboxing and final makes on social media.
Happy sewing, Josie xxx
Julia’s sewing tips:
LB Pullover
Compare your measurements to the body measurements and finished garment measurements on the pattern. There’s lots of ease to make the garment a loose fit. If you want a closer fit, you could size down.
I made a straight size 14 in the turtleneck version. I added 4cm to the length of the body and 3cm to the length of the sleeves. If I made it again, I’d add a further 5 to 10cm to the length of the body.
Prewash fabric
There will be some shrinkage when prewashing this fabric so make sure you don’t skip this stage.
Edge finish the cut edges of the fabric before washing to avoid the build-up of fluff in your machine.
Ironing
I didn’t iron the fabric at all before or during construction.
Cutting Out
Cut the pieces out with the wrong side of the fabric facing you. It’s a lot easier to deal with the fluffy fabric this way.
To be the most economical with the fabric, I folded the fabric with right sides together, folding each selvedge in to the centre of the fabric to give 2 folded edges. This should work for sizes up to 18. I then cut out the front, back and neckband.
After cutting these out, I then refolded the fabric to bring the two selvedges together and cut out the sleeves.
Transferring pattern markings
The fluffy fabric makes it difficult to see the notches. I placed pins on the fabric in the position of the notches instead, marking the back body piece and the back of the sleeves. You could use a washable fabric marker instead.
Making up the garment
I used a size 90/14 universal needle.
The seam allowance on the pattern is 10mm (3/8”).
I tacked (basted) each of the seams first on my sewing machine using a long machine stitch. After this I stitched the seams on the overlocker, replacing the tacked line of stitches with the overlocking stitch.
I used a 4-thread stitch on the overlocker using both needles to give the most secure seam.
When hemming the sleeves and lower edge I overlocked the raw edge of the fabric first.
To allow some stretch at the hems, I used a narrow zig zag stitch to keep them in place.
I’d advise giving the top a good shake outside after construction to lose some of the excess fluff.
More tutorials and videos on techniques can be found at www.houseofmisssew.com or https://www.youtube.com/c/HouseofMissSew/videos

